Top 10 Quadcopter Photography Tips
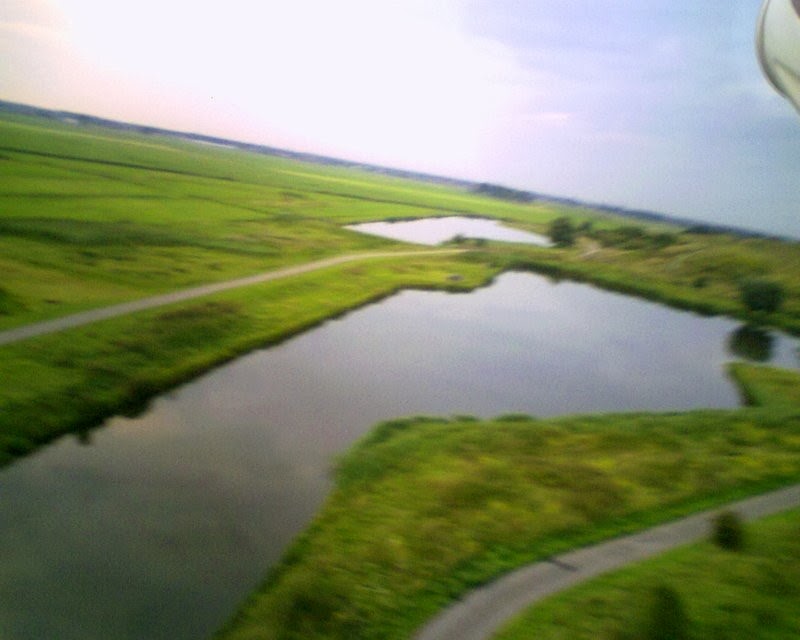
The quadcopter has not just got RC enthusiasts excited. With a rising number of models that include a built-in camera, quadcopters have got the attention of photographers seeking to achieve the ultimate aerial photography shot. Here are my top tips on using your quadcopter for photography:
I hope my tips have helped you improve your quadcopter photography experience. Remember to choose a location with plenty of space and don’t forget to check out the rest of my work on The Spoon Drawer and follow me on twitter for all the latest - @EdwardPhelan1
Pre-flight Preparation
1. Test Your Battery
Always have a battery tester with you when you are planning a quadcopter photography session. Before the flight plug the battery tester in to make sure all of the cells are working.2. Spin the Motors
Just give the motors a quick spin before you start the flight. If you hear any noises while they are spinning you can ascertain if it is safe to fly. Often there may be a small hum from any damage where the bearings are out.3. Flip it Over
Make sure the searing’s and stops are all in place, so that there is no risk of dropping the motor mid-air.4. Have a Quadcopter Tool Kit
Keep spare parts or any tools you may need to repair the quadcopter on you in a quadcopter tool kit. Most photographers keep this in their car boot. Don’t forget to include the battery tester mentioned earlier.During Your Quadcopter Flight
5. Help Orientation By Using Bright Colours
You may already have a quadcopter with LED lights or orientation colouring but make sure it is obvious and bright enough for you to be able to navigate the quadcopter at a distance. I use bright reflective tape with red on the left and green on the right.6. Prepare for Water
If there is water near your quadcopter photography flight location, then make sure you are prepared. You can attached water noodles under the quadcopter so that it floats rather than sinks to the bottom – footage and all!7. Use Manual Mode
The best thing to do is to experiment with your new quadcopter and find the mode that works best for you. However, the reason I don’t recommend auto mode or altitude mode is because it has a tendency to automatically correct levels, which can cause the motion to jump.8. Work to Get a Smooth Flight
If you want a natural drift then stay off the stick. For a nice smooth shot you can change the Expo settings. For example the first 25% on your Expo setting is not going to be as touchy as it was at zero. Start to increase this until you find the right level for flying your quadcopter.9. Battery Etiquette
Before you put the batteries in make sure the controller is on. If it makes a sound then you need to lower the left control all the way down. In addition, always have the transmitter on before you plug in a battery. Following that, unplug the battery before you turn off your transmitter at the end of a flight.10. Warm it Up
Most models need a little time to warm up, so let it run for a while before you take flight.I hope my tips have helped you improve your quadcopter photography experience. Remember to choose a location with plenty of space and don’t forget to check out the rest of my work on The Spoon Drawer and follow me on twitter for all the latest - @EdwardPhelan1


Comments
Post a Comment